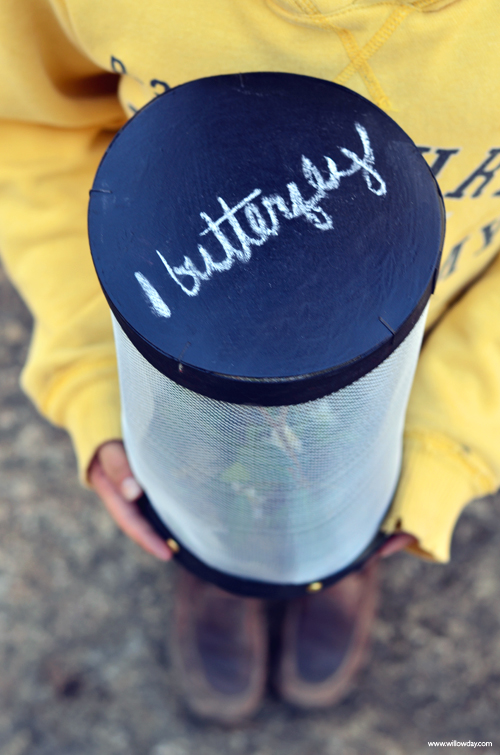
Make Butterfly Houses with Chalk Lids
Can Brie + Butterflies be friends?


Make these with your kids. Make them with a class. Throw a Butterfly or Bug Birthday party and use these as the party craft. Don’t want bugs in the house? Use your imagination to fill these with paper butterflies for a room decoration. I think these are a wonderful way to expand your children’s outdoor exploration and inner creative world, (even encourage spelling) while looking great, too. Just click, below, on READ MORE for full tutorial to get started, too!


I’d love to hear how these work for you and see what you’ve created. Willow wishes for creative days that flutters with adventures, creativity and exploration ahead!
Wooden Cheese Container (such as the Brie container seen above)Packing Tape (or even “Duct” tape works)
Brad Clips
Stapler
Fine Gage Wire Screen
Scissors for cutting wire
Black Chalk Board Paint & brush
Needle and thread

2. Seal the edges of the top of the cheese container with tape. I used packing tape so that it blended with the wood, but, if you only have duct tape, this would work.
3. Prepare the chalkboard paint and wooden cheese boxes. Paint boxes and let dry.
4. Fit the screen to the circumference of the wooden cheese container. Add approximately 2 inches ( 5 cm) to the width and cut. Fold over one of the edges
5. Create a tube with the screen and fit into one of the wooden containers and staple the top and bottom edges, using the wooden containers as your guide.
6 With needle and thread, stitch the center of this same seam tight.
7. Using a hole punch, clip holes around the circumference of the wooden container.
8+9. Press the brad clips into the holes and through the screen tube which you have fit inside the wooden container. Press these open from the inside.
10. Are you ready to construct the butterfly house now? Just slip the top on and your Butterfly House is ready.
11.. With chalk, tally your bug or butterfly guests, write the date or name or decorate the top. Place foliage and twigs inside to make your butterfly guests feel at home. Now, go and have a bug adventure!

Something you might like:


Paper Fan Garland | Make a Wishing Star Bank | Make Wrapping Paper Pompoms | Make Washi Tape Locks | How to Color Fabric With a Crayon | Make a Phone/Ipod Stand


