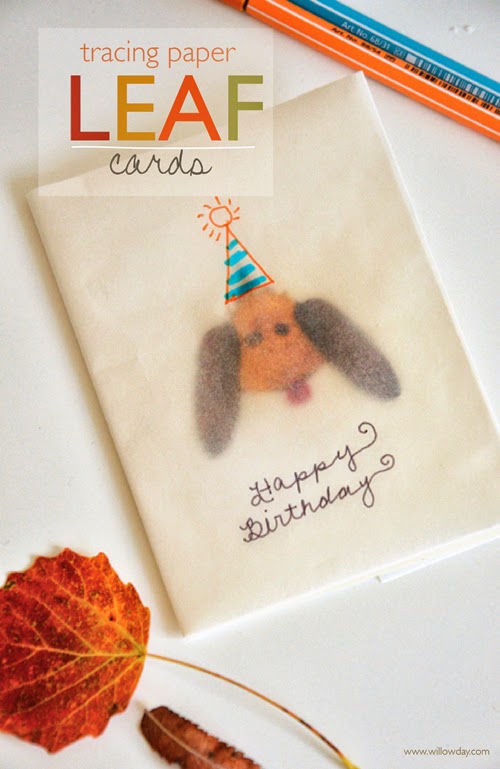
Tracing Paper Leaf Cards

Happy First Day of Autumn! Is it beautiful in your area of the world? We’re having an exceptionally pretty Autumn in Stockholm (click here to see) . I’m sorry that I missed my regular Friday post, yesterday, but I’m hoping an extra weekend post will make up for this! We’ve made cards this week and I want you to be able to make these, too. These are perfect for anyone: teeny kids, big busy kids, nature buffs, teachers, and sophisticated party planners, a like… So: walk + talk, gather + make, then, personalize. Use them today. Frame them. Make them. Save them. Make these your own. I’d love to see what you do with this tutorial!


Full tutorial below.

Click on “read more” for more photos and tutorial …
After filling a pocket or two, all week long, with leaves, we made cards for weekend parties. Maybe you remember last year’s wrapping paper which used a similar (click here) technique? I wish I had that turtle in a card format to frame but, it made such a pretty package. I’m keeping a stash of some plain, pre-assembled, unembellished leaf cards, on hand, all Fall for anyone who has the urge to make one.


2. Assemble cards that are covered with tracing paper
3. Embellish as you’d like. Simply draw directly on the tracing paper with a pen, pencil, coloring pencil or marker. The little leaf fairy, above, was created using ink pen, ink pad and a piece of washi tape for the header.

– White Card Stock and Envelopes
– Glue
– Xacto Knife
– Straight edge or rules to use with Xacto knife
– Tracing paper (or Sandwich paper/ Parchment paper works, too!)
– Pens for embellishment
– Autumn foliage

2. Trim the tracing paper to the correct height (but do not trim off the side edges. You will need the tracing paper to be longer than your card in order to create a wrap around.)
3. Mark the front fold by measuring in approximately 1/2 inch.
4. Fold the edge.
5. Fit onto open card stock.
6. Glue this edge to the front inside cover of the card and let dry. Set aside until the card is dry.
7. Bottom row: create patterns with you leaves and glue into place.
8. Once the leaves have been securely glued and are dry, fold the tracing paper back over the card and fold the back edge (as in #5 again) over the back. Glue this edge to the back of the card —- gluing on top of the fold and adhering this edge to the card.
9. Embellish the outside of the card!


Would you like to add simple, everyday, creativity to your family — or travel with us to Sweden — just sign up here and never miss a post


